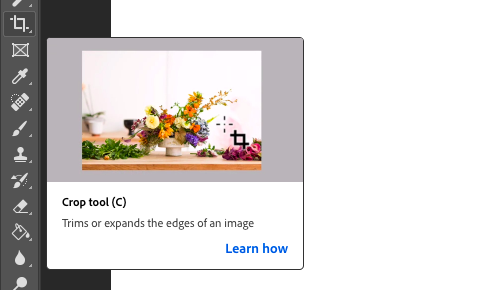
Undoubtedly, Photoshop is one of the best image editing tool used by most of the graphics designers. It comes with a lot of useful tools that allow designers to design and experiment with different variations of an image. The Crop tool is one such tool allowing designers to cut images.

The majority of designers use it just for cutting images, whereas, in fact, it also comes along with some additional uses. In this article, we are gonna discuss some secret tricks of the Crop tool. So, let’s have a look at some best-kept secrets of the crop tool as follows:
You also like:
How to Create a 3D Gold Effect Text Using Photoshop Layers?
How to Use the Smart Sharpen Tool in Photoshop?
The Complete Beginner Guide For Photoshop CC
The Crop Tool Keyboard Shortcuts
We’ve found some keyboard shortcuts which you can use to play with the Crop tool. Here are the keyboard shortcut keys you can use to play with the crop tool:
1. Use the C Key to Open Crop Tool
Traditionally, most of the people had to select the crop tool from the toolbar section, But, now you can do the same thing by using the C key on your keyboard. Just tap the C key once and it will enable the Crop tool.

2. Lock the Aspect Ratio of the Crop Area
Suppose you selected an area to crop, but later on, found out that the area gets misplaced by mistake. It’s really painful as you have to select the resize area again. Now, you don’t have to worry about this, as you can use the Shift key to lock the aspect ratio of the crop area.
3. Resize the Border Area from Centre
In order to resize the crop border from its center, all you have to do is just use the Alt key while dragging the handle. This will allow you to make changes to the crop border area.
4. Swap the Orientation of the Crop Border
Using the X key on your keyboard, you can easily swap the orientation of the cropped image. This way, you can crop an image either vertically or horizontally.
5. Show or Hide the Cropped Area
Have you ever wanted to know how an image would look like after cropping it? If yes, then you can use the H key to do it. This will remove the unselected area and you can get a better idea of how the cropped version of an image will look like.
6. Enable the Straighten Tool
If you want to straighten the cropped image, then you can enable the Straighten tool for a while. To enable it, all you have to do is press the Ctrl key and it’s done.
7. Move the Crop Border, not the Image
In order to move the crop border instead of the image, all you have to do is just tap the P key to activate the classic mode. In the classic mode, you can move the crop border area.
8. Cancel the Crop
You can press the Esc key on your keyboard to cancel the Crop.
9. Add Crop Overlays
By default, Photoshop uses a third crop overlay rule, but you can customize it using the Overlay option. Click the overlay icon located in the options bar menu. You’ll find six different crop overlay there. You can go quickly go through each one of them by pressing the O key.
10. Showing and Hiding the Crop Overlay
Click on the Overlay icon located at the options bar. You’ll find some additional options there. You can enable the Auto Show Overlay option to display the crop overlay. On the contrary, you can select Never Show Overlay option to hide the crop overlay.
11. Crop an Image
In order to crop an image, all you have to do is just tap the Enter key(Windows) and Return key(Mac) and your image will be cropped.
How to Add More Canvas Space Using the Crop Tool?
Initially, you can use the crop tool to just crop images, but it isn’t just made for cropping images. You can also use it to add canvas space around an image. Here’s how you can do this:
- Upload the Image to the Photoshop software.
- Create a duplicate layer of the original image.
- To do this, press the Ctrl+J keys.
- Photoshop will fill the new canvas image with a color.
- Now, press the C key to select the crop tool.
- Enable the “Delete Cropped Pixels” from the options bar.
- Hold the Alt key while resizing the canvas.
- You’ll start seeing extra canvas space around the image.
- Press Enter to apply the changes.
